Protecting families from contaminated food and water
All fields are required
Protecting families from contaminated food and water
Posted in Food Safety,Our Blog on June 13, 2020
Grocery store shortages of yeast, bread flour, and other baking supplies was a clear sign that the COVID-19 pandemic has prompted a baking revival. Social media feeds were full of homemade breads. Focaccia and sourdough everywhere! Lockdown presented an opportunity for people to brush up on their baking skills or learn new techniques while they practiced self-quarantine and social distancing. And boy did they! But remember, you need to stay safe, and safe sourdough is good sourdough.
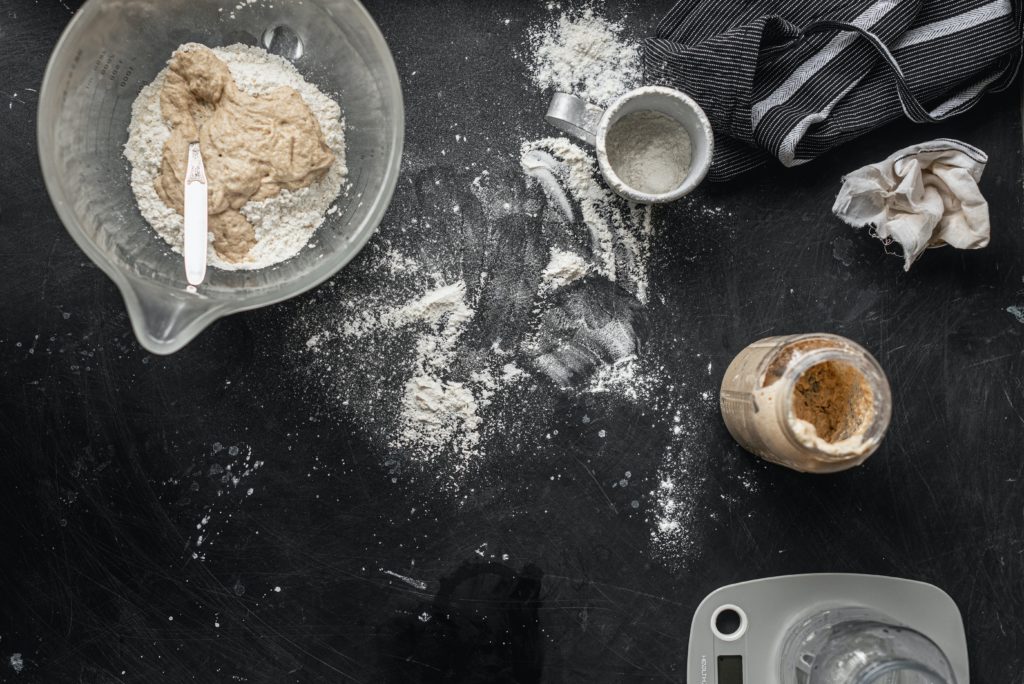
One of the biggest trends I have seen involved techniques that began with making a sourdough starter. Since yeast was in short supply, this method of growing wild yeast from flour made a lot of sense. Best of all, it only requires 2 ingredients. Flour and water. That’s it. It is a little bit of work to get it started and keep it going, but the results are more than rewarding. It is tasty and practical. Sourdough starter can replace yeast and jumpstart baking recipes such as pizza dough, waffles, banana bread, pancakes, buns, biscuits, and more. It does come at a cost.
Sourdough Starter Is Needy
While you are saving both time and money maintaining your own wild yeast starter, there is still a cost. Sourdough starter is rather needy. To start it, you need to feed it twice a day until you get the developed starter going. This feat can take at least 6 days or over a week in some cases. But your work isn’t over then. Like any other living thing in your home, you will still need to feed it regularly. At a minimum, weekly. This regular interaction with a living, growing blob often creates a bond. Many people even name their starter, akin to a pet that lives in their refrigerator.
What Happens If My Starter Is Neglected?
Is this whole regular feeding thing serious? It very much is. Feeding your starter is imperative to ensure the safety of the product. If your yeast does not receive regular additions of flour it will not have the nutrients needed to live. Without water, the yeasts will dry up and not be readily available in your recipes.
While feeding the starter means life-or-death for your new friend, there could be harmful repercussions. If the friendly yeast starves, it can die – leaving room for harmful bacteria to grow and thrive. Instead of feeding your bread recipes with bubble producing yeast, you could be contaminating your creation. While baking harmful bacteria to an appropriate temperature will render it benign, any toxins produced may remain to infect your family. Contamination with certain types of E. coli such as Shiga toxin producing E. coli will leave behind harmful remnants.
Monitor your starter for mold growth. Opportunistic mold spores may find their way onto your starter and grow, tainting your efforts. When in doubt, throw it out.
As life slowly moves back to the new “normal” and we become busier, don’t forget about your starter. If you discover you can’t remember the last time you fed your starter, your starter may be at risk. Set alarms in your calendar or mark directly on the jar feeding dates. Whatever it takes to stay on top of your feeding schedule.
Sourdough Starter Recipe
Still interested in exploring your own homemade sourdough with starter? Try this recipe on for size.
Day 1: Add 1 heaping cup of whole wheat flour and ½ cup lukewarm filtered water to a 4-cup mason jar. Use a fork or chopstick to ensure all dry flour has been incorporated. Mixture should have a peanut butter consistency. Cover with a lid, plastic wrap, or wet towel. Allow to sit at room temperature for 24 to 36 hours.
Day 2: Some activity should be observed (check for a bit of bubble activity – this may take the full 36 hours). At either 24 hours or up to 36 hours depending on bubble activity, discard half of the starter. Add 1 cup white bread flour and ½ cup lukewarm filtered water. (This step uses white bread flour instead of the whole wheat flour used in Day 1.) Mix well with fork and cover again for 24 hours.
Day 3: There should be active bubbling and expansion on this day. Now “feedings” will take place twice a day as evenly spaced as possible. During each feeding, discard all but ½ cup of starter mixture and a heaping cup of white bread flour and ½ cup lukewarm filtered water. This should take place around 12 to 14 hours. You will notice the dough blob rise until it peaks and then begin to fall. This is a sign that your starter is hungry. Depending on the temperature of your kitchen, this could be closer to 14 hours or as early as 6 to 10 hours.
Day 4: Continue twice-a-day feedings, discarding all but ½ cup of starter mixture each time before adding 1 cup white bread flour and ½ cup filtered lukewarm water. Pay attention to the rise and fall of the starter. Feeding starter that isn’t hungry will dilute the wonderful yeast you are trying to grow.
Day 5: Continue twice-a-day feedings. You know the drill by now.
Day 6: Discard all but 1/3 cup starter before feeding this time and perform a float test about 8 hours later. Starter should have doubled in size within 6 to 8 hours. To be sure your starter is ready, perform a float test. Place a teaspoon of starter in a glass full of water. If it floats, you can make bread tonight! If it doesn’t double in size or pass the float test, continue twice a day feeding for another day or 2.
Once you have your active starter, transfer your creation to a sterile crock or mason jar for permanent storage. You can store the starter in the refrigerator and feed it at least once a week, discarding any liquid on top. Reserve around to 1/3 to ½ cup of starter before feeding the usual 1 heaping cup of bread flour and ½ cup lukewarm filtered water.
Is All This Work Worth It?
Is all of this work, well… Worth it? If you make bread regularly and have the time to maintain your culture – absolutely! You will have more depth of flavor in your end product as well as save time and money by not buying yeast from the grocery store. You will have the satisfaction of making something truly from scratch. Just remember safe baking depends on your commitment. When in doubt, discard your starter. Sterilize your permanent storage and start over.
By: Heather Van Tassel