Schedule your free consultation today.

  • This field is for validation purposes and should be left unchanged.
  • This field is for validation purposes and should be left unchanged.

All fields are required

LET'S TALK

CALL TODAY

(833) 330-3663

Safely Making Jam & Jelly at Home

Posted in Food Safety,Our Blog on June 15, 2026

Grandma hobbies. They are everywhere right now. Crochet, baking, cooking, canning, gardening, the list goes on and on. If your grandma did it, I probably want to learn. One thing I am finding though is that even though “no one got hurt” back then some of the methods of food preservation weren’t exactly safe and are what we call these days “rebel canning” because they aren’t all that safe or reliant.

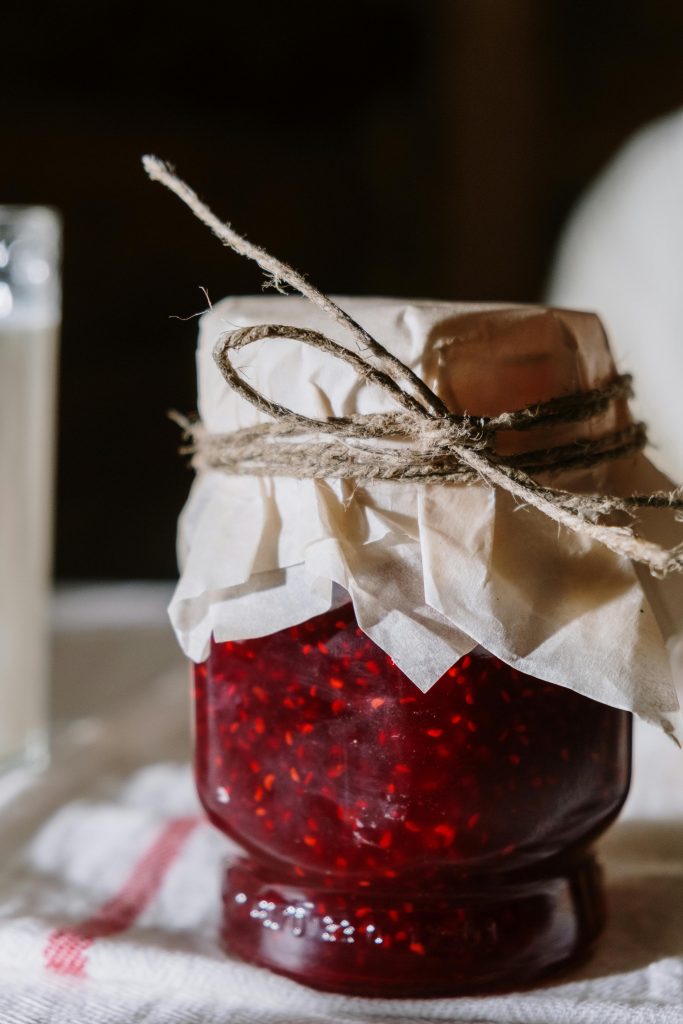
One of the first things people learn how to can and preserve is usually fruit in the form of jam or jelly. There are many safe and super easy ways to make it and they are for the most part very safe.

The 3 Ingredients You Need to Make Jelly

  1. Fruit: If it’s your first time making jelly, use high pectin, high acid type of fruits like tart apples, crabapples, cranberries, blackberries, gooseberries, lemons, concord grapes, and currants. The high pectin content ensures a smooth and proper gel.
  2. Sugar: Sugar works with the pectin and fruit acids to create the gel texture in jelly. Beware that using less sugar can keep your jelly from setting, and adding too much can result in stiff jelly.
  3. Pectin: Pectin is the most crucial ingredient in making fruit jelly, it’s what creates the gelling effect that you’re aiming for. Fruit contains natural pectin but if you’re using low pectin fruit (like fresh strawberries), you can supplement it with commercial pectin (powder or liquid), or you can add a high-pectin ingredient like fresh lemon juice.

What Equipment Do You Need to Make Jelly?

  1. A heavy-bottomed large pot or saucepan: Using a heavy pan keeps the fruit from scorching over heat, while also providing a larger surface for evaporation. The key to making jam is reducing water in the fruit, helping it to thicken with the sugar, so a thick-bottomed pot will let you cook for a longer period without burning the contents.
  2. Jelly jars: Use heat proof sealable glass pint jars (easy to sterilize) for storing jam after cooking. When using the canning method, jam has to be hot when it goes into its sterilized jar and sealed, otherwise it can become moldy. Part of the preserving process is for all the air in the jam to escape and for the lid to then be sucked down into the vacuum, creating a strong seal.
  3.  Heatproof spatula or wooden spoon: Heatproof cooking utensils don’t quickly heat to high temperatures or chemically react with acidic foods as their metal counterparts do. They don’t melt or release chemicals into hot food as plastic does.

How to Store Homemade Jelly

When jelly is cooled and stored covered in clean, sterilized jars, it can last up to a month in the refrigerator or up to a year in the freezer, depending on the sugar content. Sugar is not only used as a sweetener, but also as a preservative that helps maintain the color of your fruit and prevents mold from developing. If you process by canning in a boiling water bath, you can expect up to two years of shelf life when stored in a cool, dry place.

Water bath canning is my preferred method so that my fridge and freezer do not become too full of jars. I also love opening my pantry and seeing the beautifully filled jars and knowing that I had a part in preserving food for my family that can last years. For this you bring a large pot with a grate or jar holder inside to a rolling boil. Add jars and process according to the contents of the jar. Usually, 15 minutes for pints and half pints. I remove the jars with a jar lifter and put them on a towel to cool. When you start to hear the jars pop it is literally music to any canner’s ears, but I always test my jars to make sure they have 100% sealed before storing. I usually leave them on the counter for 24 hours before putting away.


For more information on canning and preserving foods at home please follow Make Food Safe.